


Read Our Daily Travel Secrets
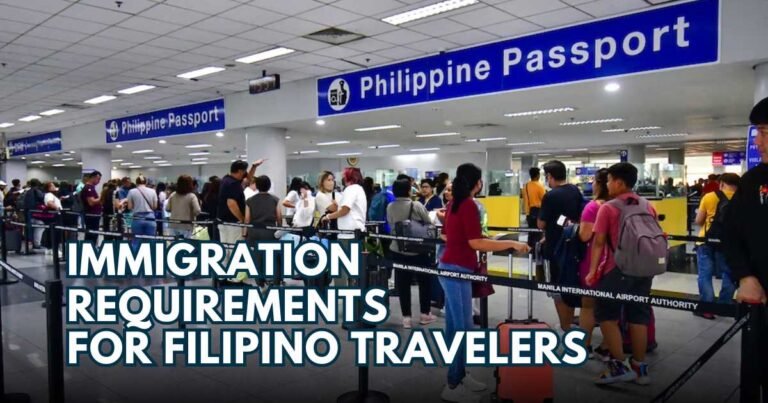
The Ultimate Guide To Passing Philippine Immigration For Filipino Tourist Travelers
The Ultimate Filipino Guide to Passing Philippine Immigration for Tourist Travelers! Ready to Jet-Set? Here's How to Ace Your Immigration ...

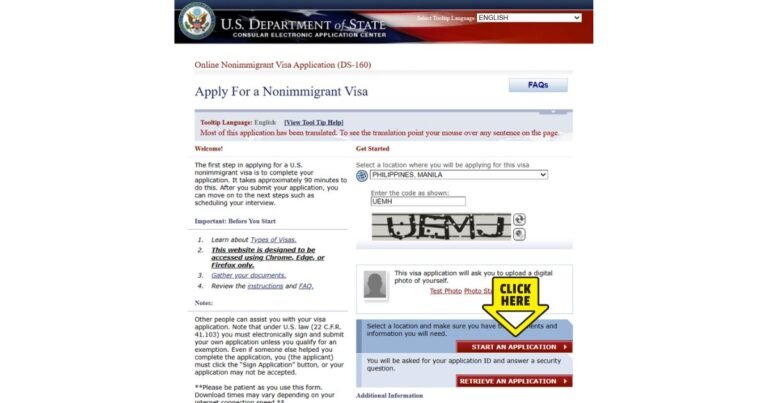
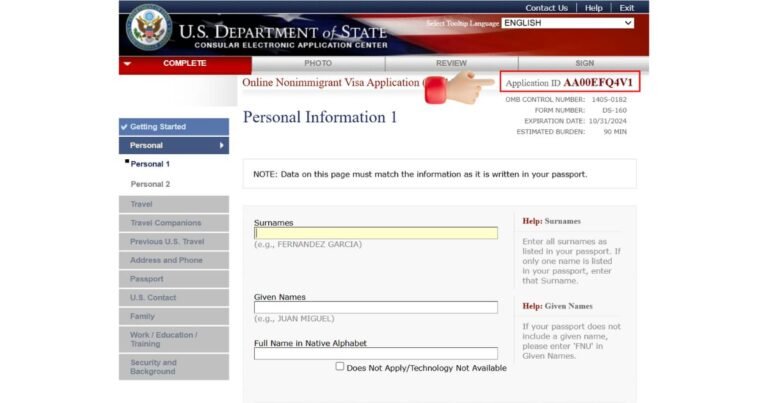
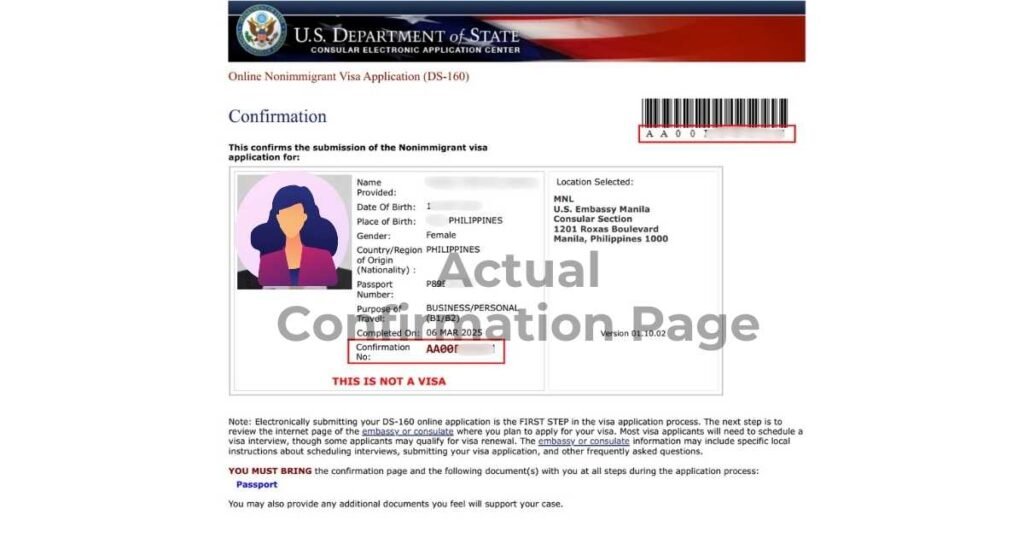
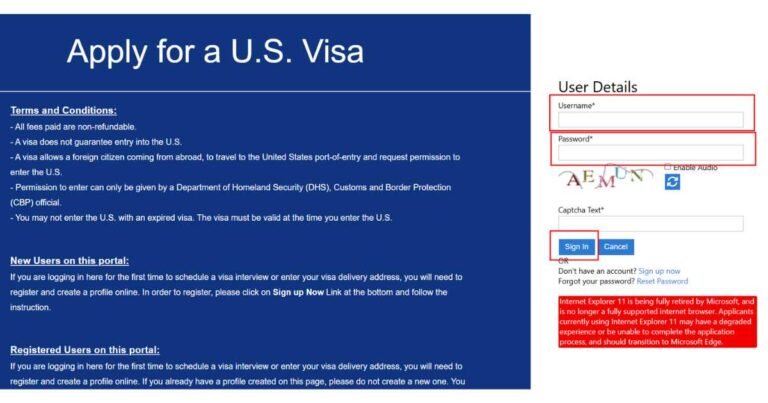
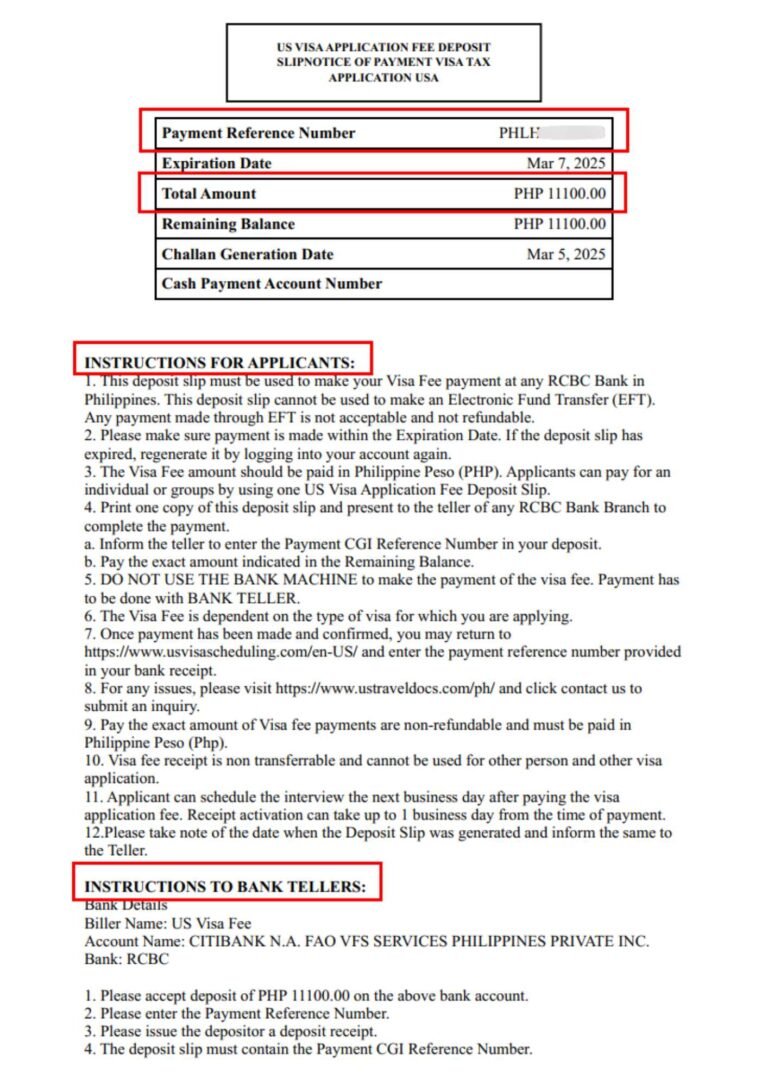
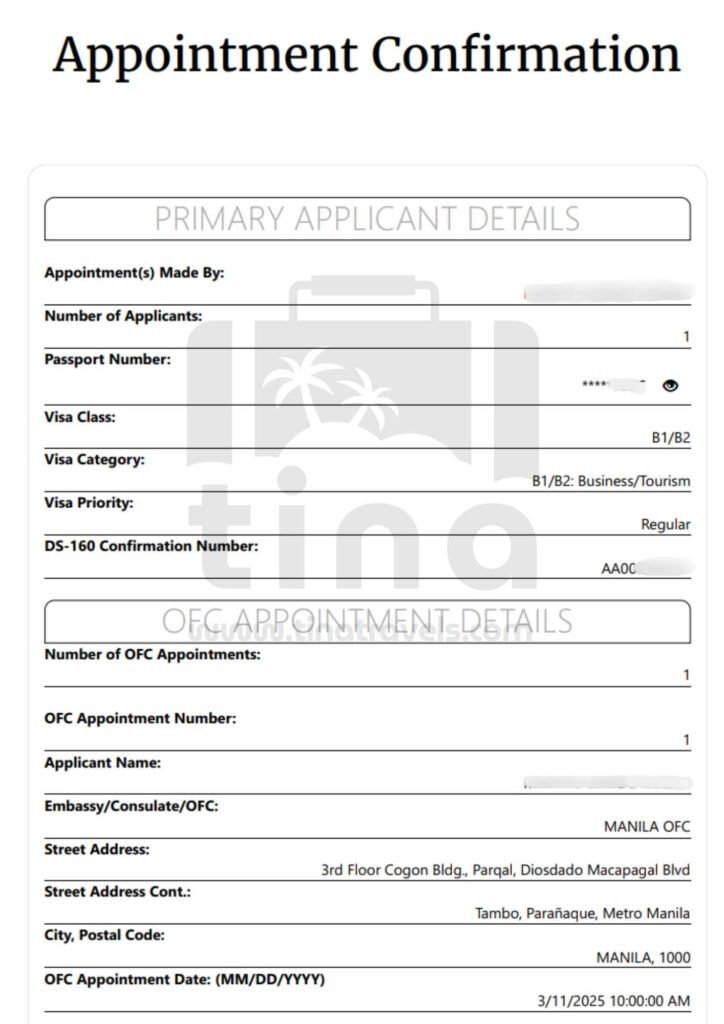
Complete Guide on How to Apply for Your USA Tourist Visa (B1/B2)
Complete Guide on How to Apply USA Tourist Visa for Filipinos Travel Agencies Will Hate Us for This! This is ...

We Tried the ₱1,499 Flight Ticket for Visa Application—Here’s What Happened!
Don’t Read This—Unless You Want A Verifiable Flight Ticket for Your Visa Application for Just ₱1,499! Yep, you read that ...
How to Apply Tourist Visa in Australia?
Tips and Guides on Australia Tourist Visa Application for Filipinos Australia is one of the dream destinations for many Filipinos ...
How to Book A Verifiable Dummy Ticket For Your Visa Application?
How to Book A Flight Reservation? A Step-by-step Guide on How to Book A Verifiable Dummy Ticket Step 1Fill out ...